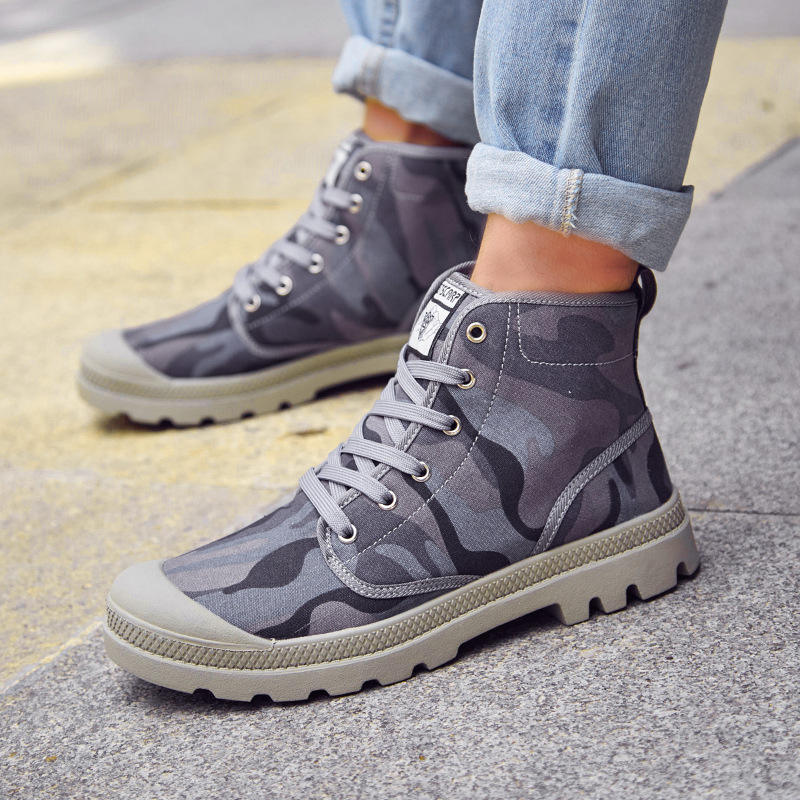
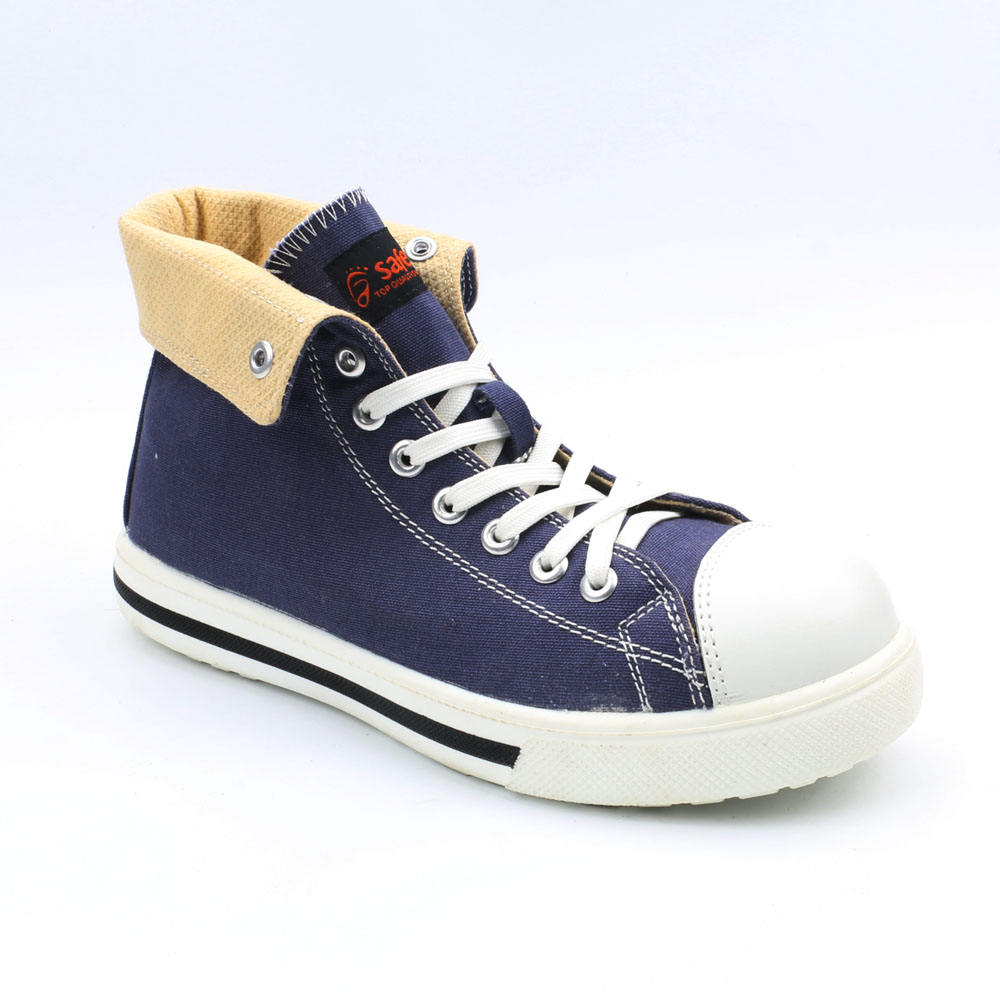
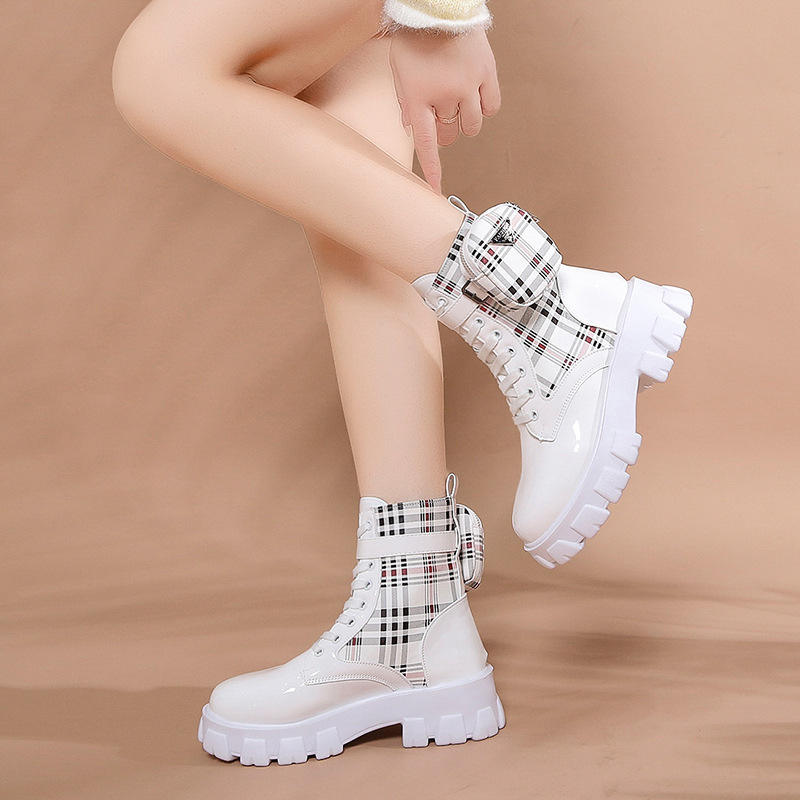
Customizing canvas boots can be a fun and rewarding experience. Here are some steps you can follow to customize your own pair of canvas boots:
- Choose your canvas boots: You can purchase plain canvas boots from most craft stores or online. Choose a pair of boots that are made from a sturdy canvas material and that will hold up well to customization.
- Plan your design: Think about the design you want to create on your boots. You can draw inspiration from anything you like, such as your favorite colors, patterns, or images.
- Gather your materials: You’ll need fabric paint, paintbrushes, stencils, masking tape, and any other materials you want to use to create your design. You may also want to protect your work surface with a drop cloth or old newspaper.
- Prepare your boots: Before you start painting, make sure your boots are clean and dry. You can use a damp cloth to remove any dirt or dust.
- Create your design: Use your paintbrushes and stencils to create your design on your boots. You can use masking tape to create clean edges or to separate different sections of your design.
- Let the paint dry: Once you’ve finished painting your design, let the boots dry completely. Depending on the type of paint you used, this may take a few hours or overnight.
- Seal your design: To protect your design and ensure it lasts as long as possible, you may want to seal your boots with a fabric sealant. Follow the manufacturer’s instructions for best results.
- Wear and enjoy: Once your boots are dry and sealed, they’re ready to wear! Show off your unique style and wear your custom boots with pride.
Customizing your own canvas boots can be a fun and creative way to express your personal style. Use your imagination and experiment with different colors, patterns, and designs to create a one-of-a-kind pair of boots.


